1 · Put the parts on the table
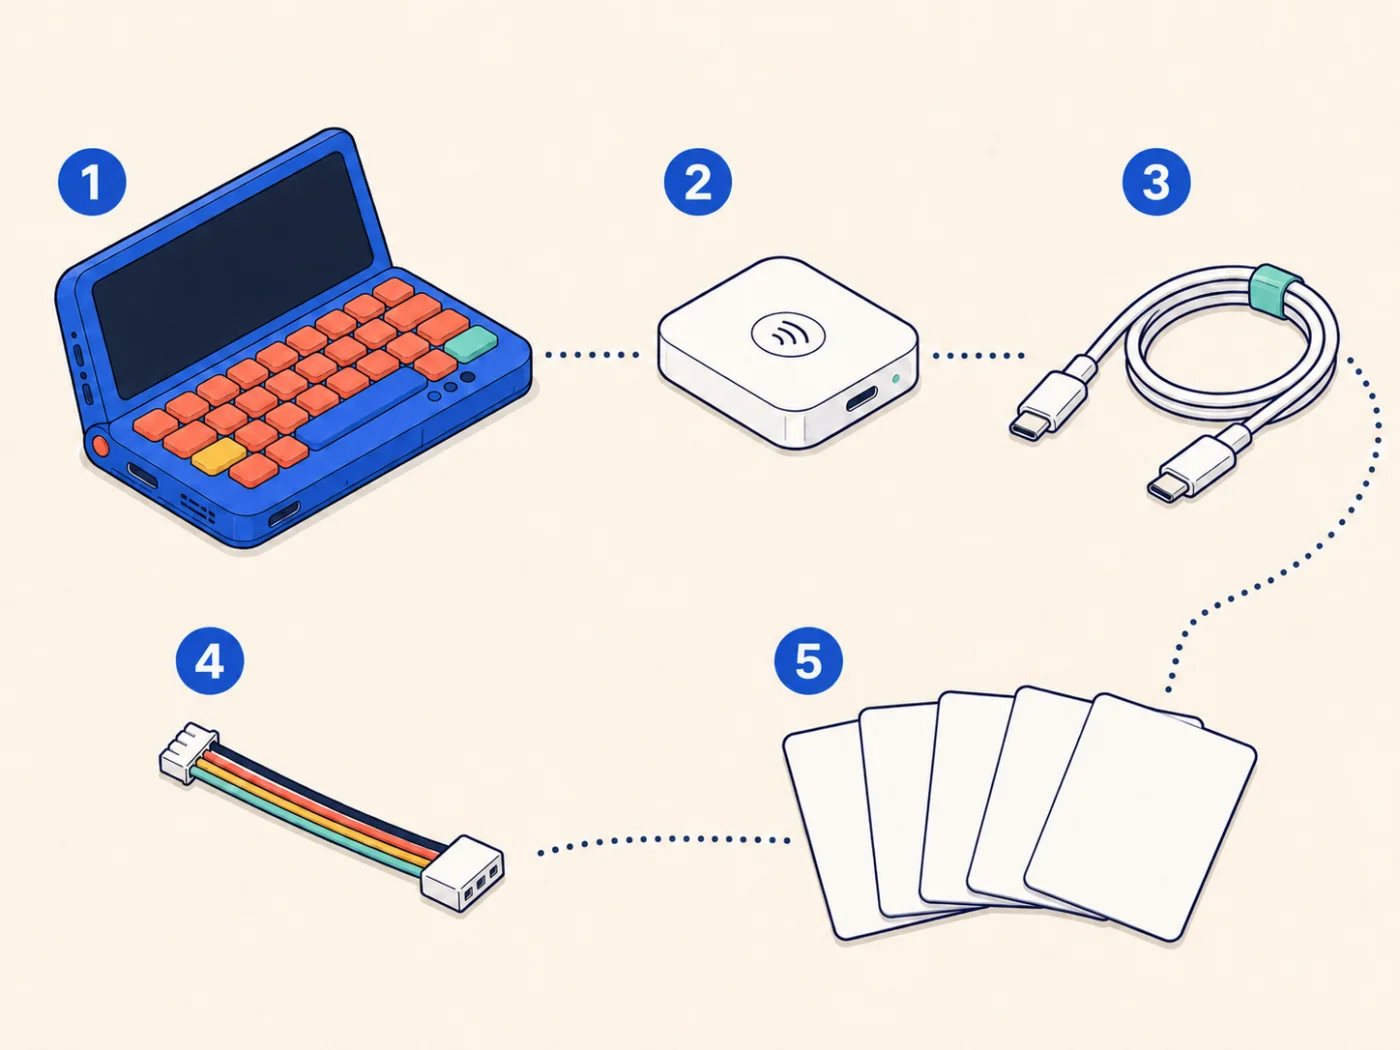
Set out one Cardputer ADV, one Unit NFC, five cards, one tested USB-C data cable, and one HY2.0-4P cable.
Five groups. Nine objects. Nothing is powered or warm.
Match labels against the hardware guide. Put all other parts away.
2 · Check power and USB
Switch the Cardputer on. Connect it to the Mac mini. Check that one serial port appears and stays connected. Label the cable "DATA."
The same port stays visible.
Try another data cable, then another USB port. Do not change software yet.
3 · Put “FIELD KIT READY” on screen
Grown-up step. Open the official
Cardputer ADV Arduino guide. Select the documented Cardputer ADV board and library. Load its
simplest display example. Change the screen message to
FIELD KIT READY. Build, upload, and reboot once.
Only if download mode is needed
- Switch power OFF.
- Hold G0.
- Connect USB power.
- Release G0.
A normal reboot shows the message again.
Check board and port. Repeat the exact G0 sequence. Do not attach NFC yet.
4 · Plug in the NFC reader
Power down. Attach Unit NFC to the Cardputer’s HY2.0-4P port. Start the external bus at 400 kHz using the M5Unified-resolved pins and the official Unit NFC example.
The ST25R3916 answers at 0x50.
Power off. Reseat both ends. Check cable direction. Run an I²C scan.
5 · Scan five cards
Scan each card. Record its UID and the card type reported by the official library. Add a removable label. Do not write to card memory.
Five different UIDs. Each reads again at close range.
Move other cards away. Bring one card slowly within 40 mm.
6 · Try a wrong card, a repeat, and a restart
- Scan an enrolled card. Count one step.
- Scan an unknown card. Show a calm retry. Count nothing.
- Hold the known card over the reader. Do not count again.
- Remove it. Scan again. Acknowledge it, but keep the count.
- Power-cycle. Restore the same step.
All five tests match the line above.
Fix UID format, removal detection, debounce, or saved state before adding a story.
Next session
Build The Lost Star: four clues, five linked cards, and one shared ending.